Key takeaways
- The MV7+ is the current USB-C and XLR model; the original MV7 uses Micro-B.
- USB mode provides Shure software processing. Passive XLR sends a dry analog signal.
- XLR does not sound better by default. Placement, room, gain, interface, and processing decide the result.
- A boom arm or stable stand is part of the real cost.
- The MV7 family suits close speech, not a person sitting several feet away.
The name problem: MV7 or MV7+?
“Shure MV7” now points to two generations. The original MV7 launched with USB Micro-B, XLR, a headphone jack, and touch controls. Shure’s current product is the MV7+, which uses USB-C and XLR and adds updated digital processing through MOTIV Mix. Retail pages and used listings can blur the names, so inspect the port and full model name before paying.
| Feature | Original MV7 | MV7+ |
|---|---|---|
| Computer port | USB Micro-B | USB-C |
| Analog output | Passive XLR | Passive XLR |
| Headphones | 3.5mm monitoring | 3.5mm monitoring |
| USB processing | Auto Level and tone controls | Updated Auto Level, denoiser, digital pop reduction, tone controls |
| New-buyer fit | Only at a clear discount | Better default new buy |
The original is not obsolete as a microphone. If its USB connection becomes unreliable, the passive XLR output can still feed a suitable audio interface. A used unit is attractive only when its condition, cable fit, return terms, and price account for the older port.
Who the MV7+ suits
The MV7+ fits a creator who records speech at a desk and wants one microphone to work directly with a computer now and an XLR interface later. Podcast hosts, voice-over beginners, streamers, and people recording paid messages can use the close, front-address form without placing a large studio microphone in the camera frame.
It is less suited to room-wide video, two people sharing one mic, singing from a distance, or a creator who must pack the smallest mobile kit. A dynamic cardioid mic reduces pickup from some directions, but it does not erase a loud keyboard, hard room, fan, traffic, or another voice close by.
This Shure MV7 review is based on current manuals, product material, pricing checks, and independent owner reports. Zivity did not record with the microphone and does not claim a listening test.
USB versus XLR: choose by workflow
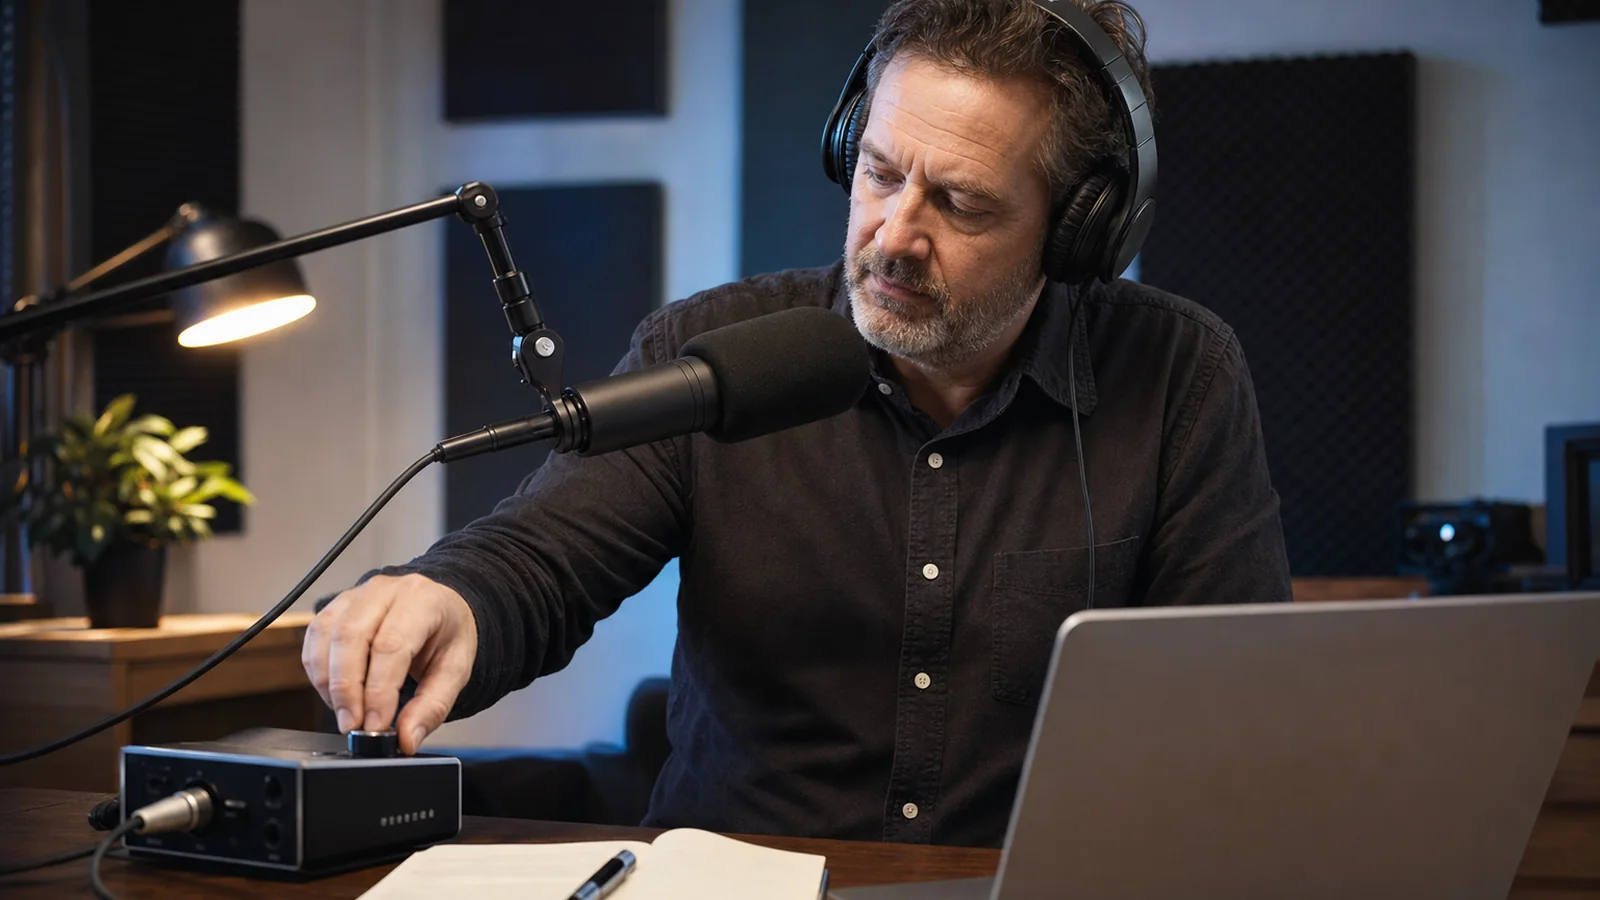
USB connects the microphone’s own converter and digital signal processing to a computer or supported device. That gives you direct monitoring and Shure’s software controls without buying an interface. The USB-C port is the shortest path to a steady voice level for one desk, and the headphone jack makes it easy to listen while recording.
XLR sends the microphone’s passive analog signal. An audio interface or mixer supplies gain and converts it for the computer. Software settings saved for USB—Auto Level, denoising, digital pop reduction, and tone—do not change that passive XLR feed. Shure states this plainly in the MV7+ user guide.
XLR is useful when you already own a good interface, need several microphones, route audio through hardware, or want a dry track for later work. The XLR connector is not an automatic sound upgrade. A poor interface setup with too little clean gain can be noisier and harder to use than the mic’s USB input.
The MV7+ can make USB and XLR connections available at the same time for some workflows, but each destination needs its own level check. Do not assume the processed USB signal and dry XLR signal will match.
Sound quality, polar pattern, and voice isolation
The MV7+ is a dynamic cardioid microphone made for close vocal pickup. “Dynamic” describes the transducer type; it does not mean background noise vanishes. “Cardioid” means the mic favors sound from the front and rejects more from the rear than from the sides. The room still reaches the front of the mic after bouncing from walls and a desk.
Distance is the first control. Start with the mic a few inches from the mouth and speak across it at a slight angle. That angle can reduce bursts of air from P and B sounds. Close placement raises the voice relative to the room, so less gain is needed. Moving twice as far away makes room reflections and keyboard noise more obvious.
Put the rear of the mic toward the loudest steady source when the layout allows. Move a computer tower off the desk, lower a fan, and place the keyboard behind the mic rather than beside its front. A rug, curtain, bookcase, or soft furniture can help a hard room. Buy acoustic products only after placement and simple room changes have been tried.
Sound quality also depends on the voice, volume, cable, input, and recording app. Voice isolation is a relative change, not silence. A dynamic microphone can reduce some background noise when it is close, yet another loud source still enters the cardioid polar pattern. A foam windscreen or pop filter can help with air bursts, while off-axis placement remains free.
USB dynamic microphone controls
As a USB dynamic microphone, the MV7+ can use a desktop app for auto gain, compression, noise reduction, monitor mix, and saved controls. Auto Level mode is useful for live streaming, podcasting, gaming, and voice work when speaking distance moves. Manual USB mode gives more control when the mic and person stay set.
Those features affect the USB output. They do not reach passive XLR outputs. Record a quiet sample and a loud sample before choosing compression or noise reduction. The best sound quality is the setting that keeps the voice clear without clipped peaks or audible pumping.
A clean USB setup
- Mount the mic on a stable desk stand or boom arm that can hold its weight.
- Connect USB-C with a data cable, not a charge-only cable.
- Select MV7+ as both input and headphone output in the recording app.
- Plug headphones into the mic for latency-free input monitoring.
- Place the grille a few inches from the mouth and slightly off-axis.
- Speak at the loudest level the recording will include.
- Set manual gain so loud speech has room before clipping, or begin with Auto Level.
- Record silence, normal speech, laughter, and plosive words for a minute.
- Listen for hum, desk bumps, cable rub, fan noise, and digital clipping.
- Save the chosen settings and make a short check recording before each paid session.
Use the Shure MV7+ product page to confirm current app and operating-system support. A phone or tablet may need an adapter, supported cable, and enough power for the chosen setup.
Auto Level, denoiser, and digital pop reduction
Auto Level can help when a creator leans back, laughs, or changes speaking level. It is also useful when a guest does not know how to set gain. Manual level is better when distance and delivery stay fixed and you want the most predictable unprocessed capture.
The denoiser targets steady room sound. Digital pop reduction addresses plosive bursts. Both can rescue a small problem; neither replaces close placement or a quiet space. Strong processing can make a voice feel thin, gated, or less natural. Begin low, record a before-and-after sample, and listen on headphones and a phone speaker.
Shure’s tone controls shape the USB result. Treat them as finishing choices, not quality scores. A darker voice may need less low-frequency weight when the mic is very close, while a bright room may make added presence tiring.
Mounts, cables, and the real price
The microphone needs to stay close without blocking work. A floor stand can avoid desk vibration. A low-profile boom can sit beneath a camera frame. A basic desk arm may sag or pass every keyboard hit into the mic, so check its rated load and return policy.
The all-metal body gives the MV7+ solid build quality, but it also asks more of a small arm than a light plastic mic. Check the box for the supplied cable and adapter before ordering another. A good microphone on an unstable mount can be harder to use than a lighter model.
Add the price of the mount, a known-good USB data cable, headphones, and any required adapter. XLR use adds a cable and an interface with enough clean gain. A cloudlifter-style booster is not a required default; evaluate the interface and recorded noise first.
Current editorial pricing often places the MV7+ near $279, though color, bundles, and sales move the figure. Confirm Shure’s listed seller and warranty coverage before buying. Remaining original MV7 inventory should be meaningfully cheaper to offset Micro-B and older processing.
Is the Shure MV7 a great microphone?
“Great mic” and “excellent sound quality” are subjective labels, not specifications. The MV7+ has a useful USB/XLR feature set, close-voice polar pattern, metal build, and direct headphones. Sound quality still depends on the person, placement, room, level, and editing. We cannot say it sounds great without a controlled listening test.
Compared with other microphones, its value is the bridge between a user-friendly USB microphone and an XLR studio path. It does not turn a bedroom into a professional studio. A good mic placed close in a quiet room can beat a more costly model placed far away. For music, group recording, or on-camera movement, a different microphone format may fit the work.
What would make us skip it
- You already own a working MV7: USB-C and software changes may not justify replacing it.
- You need only USB: the Shure MV6 removes XLR and may cover a simpler desk setup.
- You already own an interface: an XLR-only mic such as the MV7X may cost less.
- You record away from a desk: a small wireless lavalier or camera-mounted system may fit better.
- You need two voices: two close microphones are easier to control than one MV7+ between people.
- The room is very loud: no microphone purchase fixes the source of the noise.
Three alternatives
Shure MV6: simpler USB desk mic
The MV6 is the Shure choice for a creator who wants USB software features and does not need XLR. Fewer connection paths can make the decision easier. Check its monitoring, app, mount, and device support against the same list as the MV7+.
Shure MV7X: XLR without the USB system
The MV7X makes sense when a suitable interface and monitoring setup already exist. It drops the USB converter and Shure processing. The lower mic price can be misleading if you still need to buy an interface and headphones.
Rode PodMic USB: another hybrid route
The PodMic USB also combines USB and XLR in a broadcast-style body. Compare current price, mount thread, weight, headphone controls, software support, and how each fits the camera frame. We did not listen-test the two, so we do not declare a sound winner.
Shure’s own MV6 and MV7+ comparison is useful for connection and feature facts, but it is a vendor source. Treat preference claims as marketing.
The 60-second decision
- Keep the original MV7 if its USB port is steady and the recordings meet your needs.
- Buy the MV7+ for close desk speech when you want USB-C now and XLR later.
- Buy the MV6 if USB is enough and its lower current price leaves room for a good mount.
- Buy an XLR-only mic if you already know the interface and processing path.
- Buy a different format if the mic must be hidden, worn, shared, or used across a room.
Creators building a whole video desk should set the audio share of the budget before choosing a body. Our current vlogging camera picks include mic and headphone checks for each type of kit.
The verdict
The Shure MV7+ is a sensible new buy for close spoken voice when one mic must bridge an easy USB setup and a future XLR rig. The original MV7 remains worth keeping. The upgrade is about USB-C and updated processing, not a claim that older recordings are suddenly poor. Put either mic close, control the room, record a level check, and spend on a stable mount before decorative studio gear.
How we checked this
Zivity reviewed Shure’s current MV7+ guide, product pages, original MV7 manual, and model comparison on July 16, 2026. Independent pricing and owner discussions were used as cross-checks; owner reports remain anecdotes, not failure-rate data. We did not handle or record with the microphones, and no company paid for placement.